Pumpkin Spice Toaster Oven Scones and Wok Parathas
Given that it’s already, oh, mid April and the skies are light and fluffy and sometimes blue, and temperatures have already soared into the high 20s and it’s definitely shirtsleeve weather, I fear that the title of this one is a terrible misnomer.
It isn’t though. I’m just a terrible, terrible procrastinator.
[ETA: I’ve just edited the title so it’s less confusing! It used to be visibly part of the Eating My Way Through Winter series; now it’s just in the category]
You see, this has been in my drafts folder since last November.
My drafts folder, I might add, is ridiculously plump with unfinished posts.
This one? This is actually the third time I’ve hauled it out to write up. The previous two attempts were just me going on in really vague terms about how crappy I was feeling and how hard it was to write about pumpkins without letting my malaise seep into the text.
Which is tedious as hell to those who are not emotionally invested in my life.
Like, all of you.
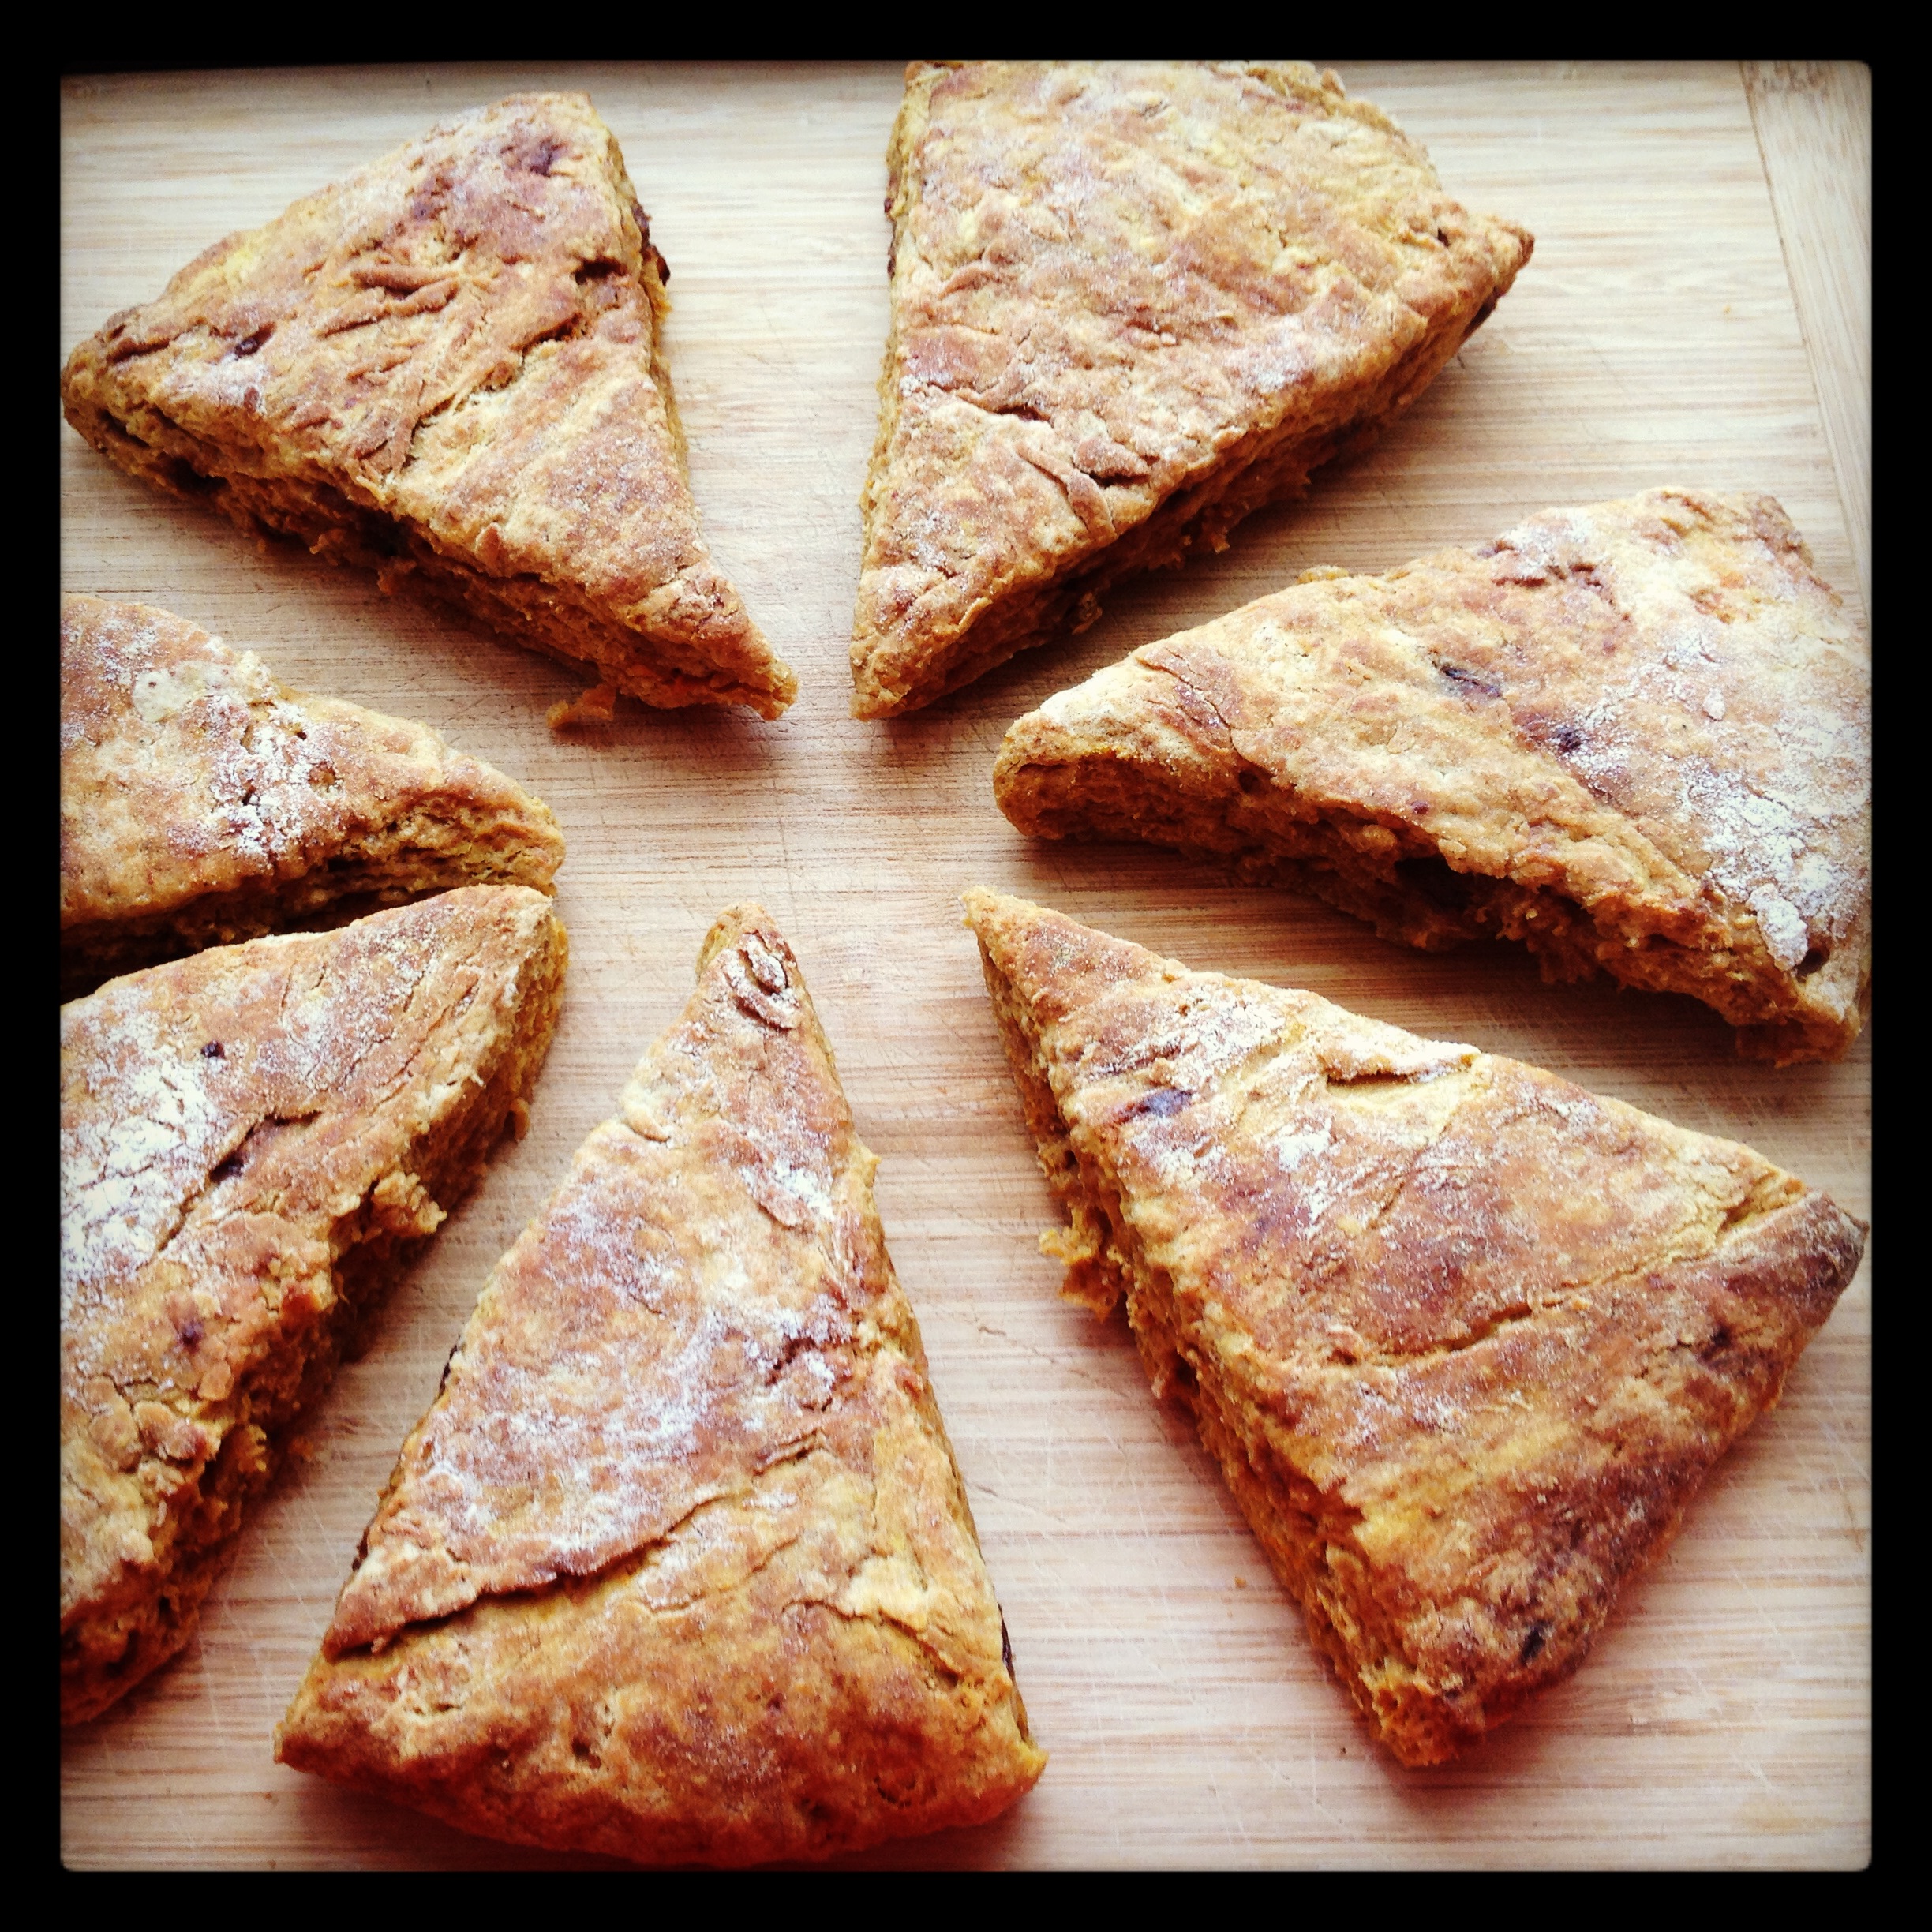
The pumpkin scones themselves were baked, photographed and eaten about two months ago.
I was going through a rather brutal and cataclysmic change in my life at that point, which I dealt with through lots of creative experimentation with pumpkins and squash.
See the size of the ones you can get at the market up the street? The one in the photo below is the size of a small toddler. You have to really whack at it ferociously with a massive cleaver to cut it into roast’able rings. That one made a ton of scones, parathas, curry, mash, fritters, and hash.
I roasted it in slices, ring by ring, rubbed with olive oil and whatever spices took my fancy. The paneer curry spice mix my aunt sent me ages ago was my favourite. My Moroccan blend from a spice shop in Fes was also amazing.

I’m doing much better now and so don’t need to rely on the catharsis of hacking up a poor defenseless gourd to feel at least somewhat sane.
I am, however, still buying smaller segments of gourd from the market and making wok parathas to go with whatever soups or stews or random leftovers find their way into the fridge.
I don’t normally do two recipes in one post but I figured I might as well in this case. After all, you just need to roast up some pumpkin and, lo! You have the makings of two really awesome- and yet not at all the same- quick breads!
Let’s just start with the base: that massive orange gourd which may be a pumpkin or may be a squash, but I’m not actually certain. My literacy skills aren’t up to snuff enough to decode the characters for those.
I hacked off about a pair of 2cm thick rings from a gourd that had the approximate circumference of a person’s head. I have no idea how many cups or grams it was. The scone recipe called for 1/2 cup of canned puree. The paratha recipe is more about proportions and texture rather than measurements. Roast up a big wodge, if you fancy. You can always use it up. It certainly won’t go to waste.
First, cut off the peel, including the pale inner rind. It’ll be hard to mash up if you don’t. Don’t forget to scoop out the seeds and sludge.

Next, toss it all in your favourite spice blend and some olive oil.

Roast it all in the oven until soft enough to mash.
I let mine go for about 40 minutes on 180C. I should note that I use a rather inconsistent toaster oven so if you have a real one, you will need to adjust accordingly.

Alternately, you could pan fry it until soft.
I did this a few times as an experiment and it was really good, but I prefer the taste of it roasted.

This is the roasted pumpkin, below.
See how awesome that looks?

When cool, mash those suckers.

See? Mashed gourd! No need for canned pumpkin here!

Right then. You have mashed orange stuff. Grand.
Now for the scones.
The recipe originally was gleaned from here. I am indebted to them for it. These are wonderful scones.
The Ingredients
- 2 cups all-purpose flour
- 1/4 cup and 3 tablespoons granulated sugar (I used dark brown ginger-infused Chinese sugar)
- 1 Tablespoon baking powder
- 1/2 teaspoon salt
- 1/2 teaspoon ground cinnamon
- 1/2 teaspoon ground nutmeg
- 1/4 teaspoon ground cloves
- 1/4 teaspoon ground ginger
- 6 tablespoons cold butter, cut into 1-inch cubes
- 1/2 cup canned pumpkin puree (I used… well, you can guess what I used)
- 3 tablespoons half-and-half (I used full fat coconut milk)
- 1 large egg
What to do


The Parathas
This is one I made up, because I had an unfinished bowl of mashed pumpkin glaring at me every time I opened the fridge. I didn’t have the energy to spend the afternoon blending butter into flour for scones so I decided to rework my old wok chapati recipe.
This is the same and yet totally different.

You need:
- Er, mashed roasted pumpkin. I’ve also done it with roasted garlic mashed into the mix.
- Enough flour. Maybe a few cups?
- Some salt. Maybe a teaspoon.
I’m being difficult here.
Not on purpose, mind. It’s just, as I noted above, all about proportions. And your flour might have a different consistency or your mash may be wetter or dryer. It depends.
Start with about 2 cups of mashed gourd.
Put it in a bowl that will accommodate it plus the flour you’re going to add. I recommend a mixing bowl, cake batter sized. Ignore my tiny one, below. I had to move it into something much bigger.
Add the tiny bit of salt. Stir.
Start spooning in flour a bit at a time, stirring it in until it’s totally mixed in.

Then keep adding flour and mixing it in until, well, it’s all the consistency of dough.
At some point, once it starts reaching the full-on dough stage, you’ll need to trade the spatula in for hands so make sure they’re nice and clean.
What you’re looking for is a dough that is soft and malleable but no longer sticky. Think fresh pasta or tortillas. If you give it a quick trial knead, it shouldn’t leave little sticky orange pumpkin stains on your counter top. If it’s still sticky, keep adding a dusting of flour until you can comfortably knead it. Then knead it for a few minutes until it’s lovely and smooth and resembles a baby’s bottom.
Form it into a nice little dough ball and let it rest in a ziploc baggie in the fridge at least an hour. I usually let it go over night. It can last up to about 5 days (or longer- I’ve always used it all up by then). It gets more glutinous and elastic as the days pass so I recommend leaving some of the dough for later as it’s well worth the wait.
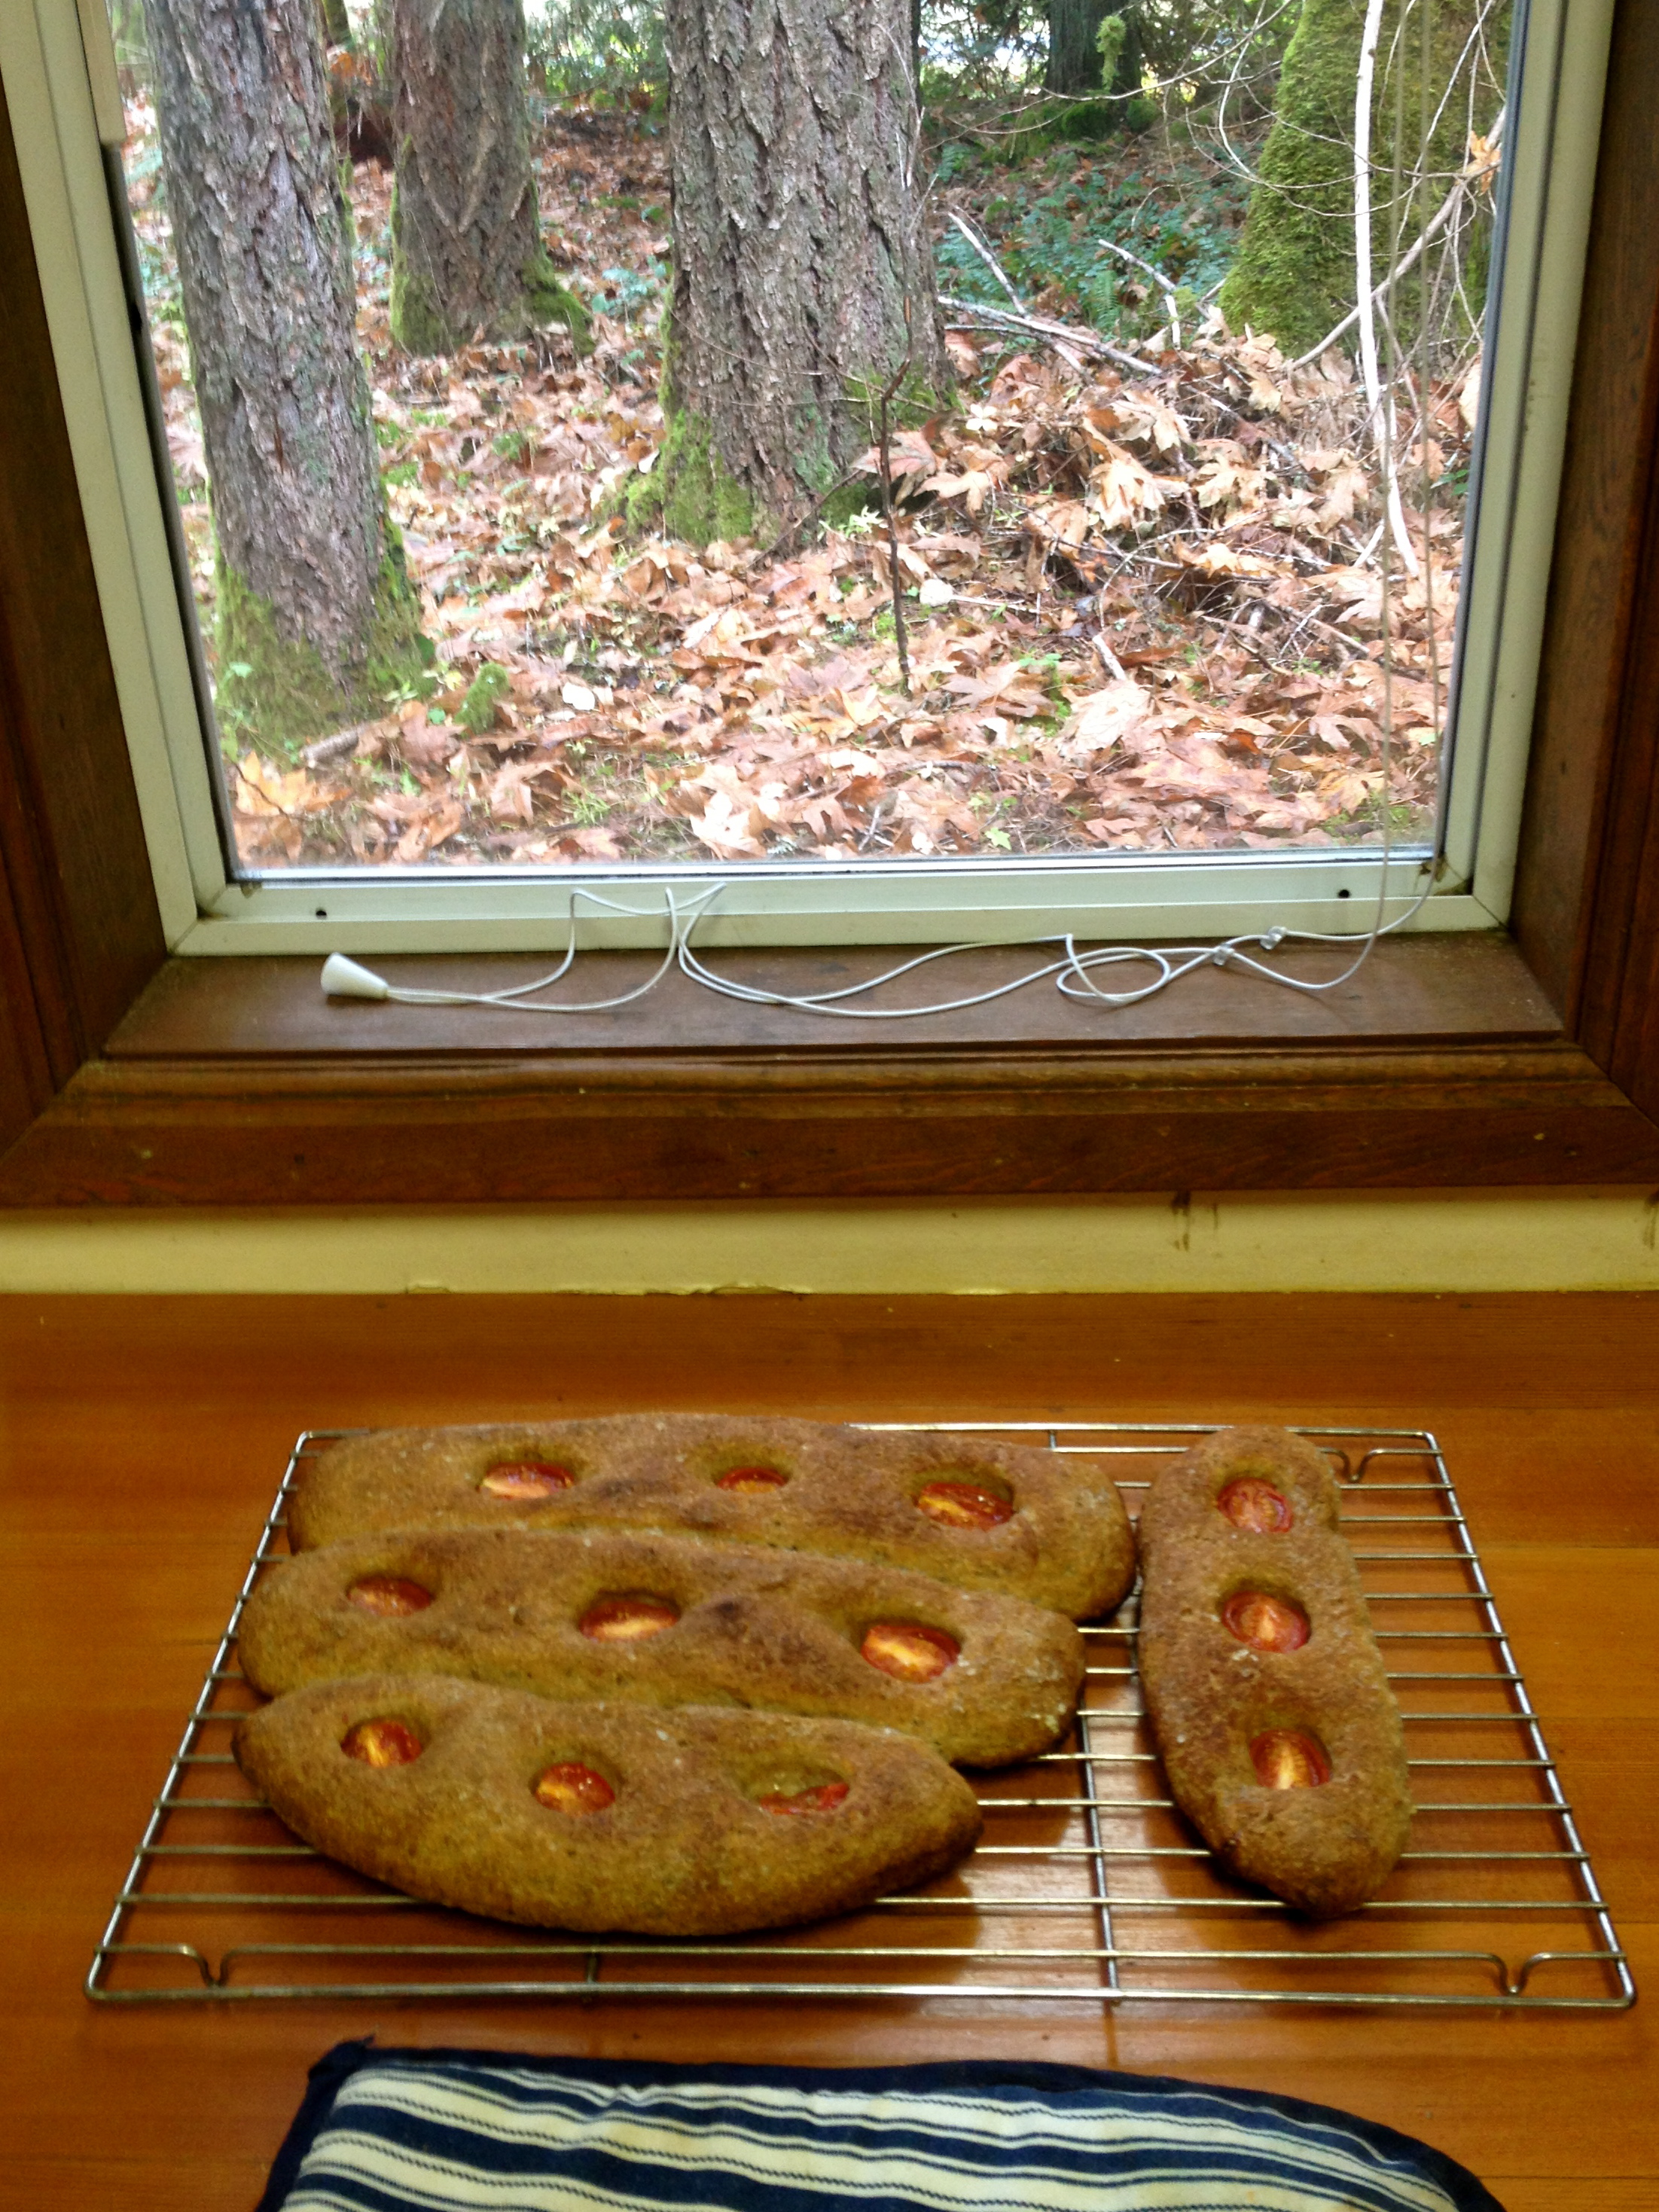
Cooking the parathas!

Get out your wok. These can be made with or without oil so make sure the wok is already well-seasoned. Preheat it on lowish on a gas stove. I don’t know about electric ones. Just the centre flame. Anything else seems to burn the paratha before it’s cooked.
Oil it if you want. I found that Sichuan peppercorn infused soybean oil is remarkably tasty for this one. Use about a table spoon, if you do.
Pull off a golf ball knob of dough and roll it out into a thin disc on a floured surface. With floury hands, pick it up and let it be stretched a bit more by its own weight, rotating it like you’re a pizza chef in an old skool movie about Naples. You want it to be thin, but not stretched so much that it breaks (obviously). 2 or 3 or 4 millimeters is good.
Toss it into the wok, and after giving it 20 or so seconds so get its bearings, give the wok a bit of a shake, like you’re about to flip a crepe. You just want to make sure the paratha isn’t stuck.
Cook it on the first side until little brown bits show up on the bottom. Get the egg flipper out to check for those. It takes about a minute.
Flip it. Wait about a minute. Bubbles will start to appear on the surface. This is good. You want bubbles. These make the parathas light and airy rather than heavy and dense.
Give it a flip back onto the first side, let the bubbles form again, and remove from the wok after about 20 or so seconds. Place cooked parathas on a clean tea towel to cool. If you put them on a hard surface, like a cutting board, they’ll sweat and get sticky and gross.
Repeat as needed.
For more details on working with wok flat breads, see my tortilla tutorial here.


9 Comments
Opal
Those look YUMMY!
mjskit
Welcome back! Glad to see that you’ve found your way from the gray and gloom. That’s a huge gourd! The size of a small toddler. What to do with all that pulp? Well, you’re off to a great start with the scones and paratha. Pumpkin paratha sounds very interesting and both of these recipes sounds delicious!
mjskit recently posted..Thai Tea Apricot Smoothie
MaryAnne
It’s good to be back. We’ve got about 2 months left in China and i’m hoping to cram in a few more recipes before we leave. It’ll be weird shifting everything again after nearly 5 years here…
Also– The pulp was remarkably minimal, as the pumpkin was a lot longer than it was round!
Mary@FitandFed.net
I’ll bet those pumpkin scones are grand with the flavorful dark brown sugar and spices in addition to the roasted pumpkin! They sound like perfect comfort food, which was probably just right for all you were going through when you cooked them. I’m glad you are feeling better now.
Mary@FitandFed.net recently posted..Cauliflower Stroganoff
Jessica
These look great! I have never cooked with gourd before, but this looks like a great recipe to start. Thanks!
Jessica recently posted..Shot Flask
aakanksha soni
Hey MaryAnne,
Great recipe indeed. Here in India paranthas are loved by everyone, but this twist is so unique. the presentation is so lovely. These are really mouth watering and healthy too. I will surely try this at home.
thanks! 🙂
aakanksha soni recently posted..Wheat garlic crackers (Garlic Mathri) Recipe
MaryAnne
Thanks! They were really yum!
Louise
WOW – I lived in Sanya (Hainan), China, for 3 months, and it was soooooo tough trying to cook with just a wok and a rice cooker lol! Now I realize that I could have been a lot more creative – wish I had found your blog earlier.
Louise recently posted..List of the Best Paleo Snacks of 2015 (15 You Can Buy + 27 You Can Make)
MaryAnne
Thanks! It was fun trying to find a way to make old favorites…